Earn up to $50 000 in Bug Bounty Program!


A step by step guide to tokenise your car ownership using Ethereum and Internet of Things


Back last year, we did a Proof of Concept with Karma Automotive during a hackathon and we won the first prize. Now I finally have some time to share an article about the implementation with the developer community. I hope you can benefit from this.
View Full Case Study: Car Ownership
If you are interested in the concept of a frictionless market achieved by tokenising assets and using tokens as an integration point for web services, please check here.
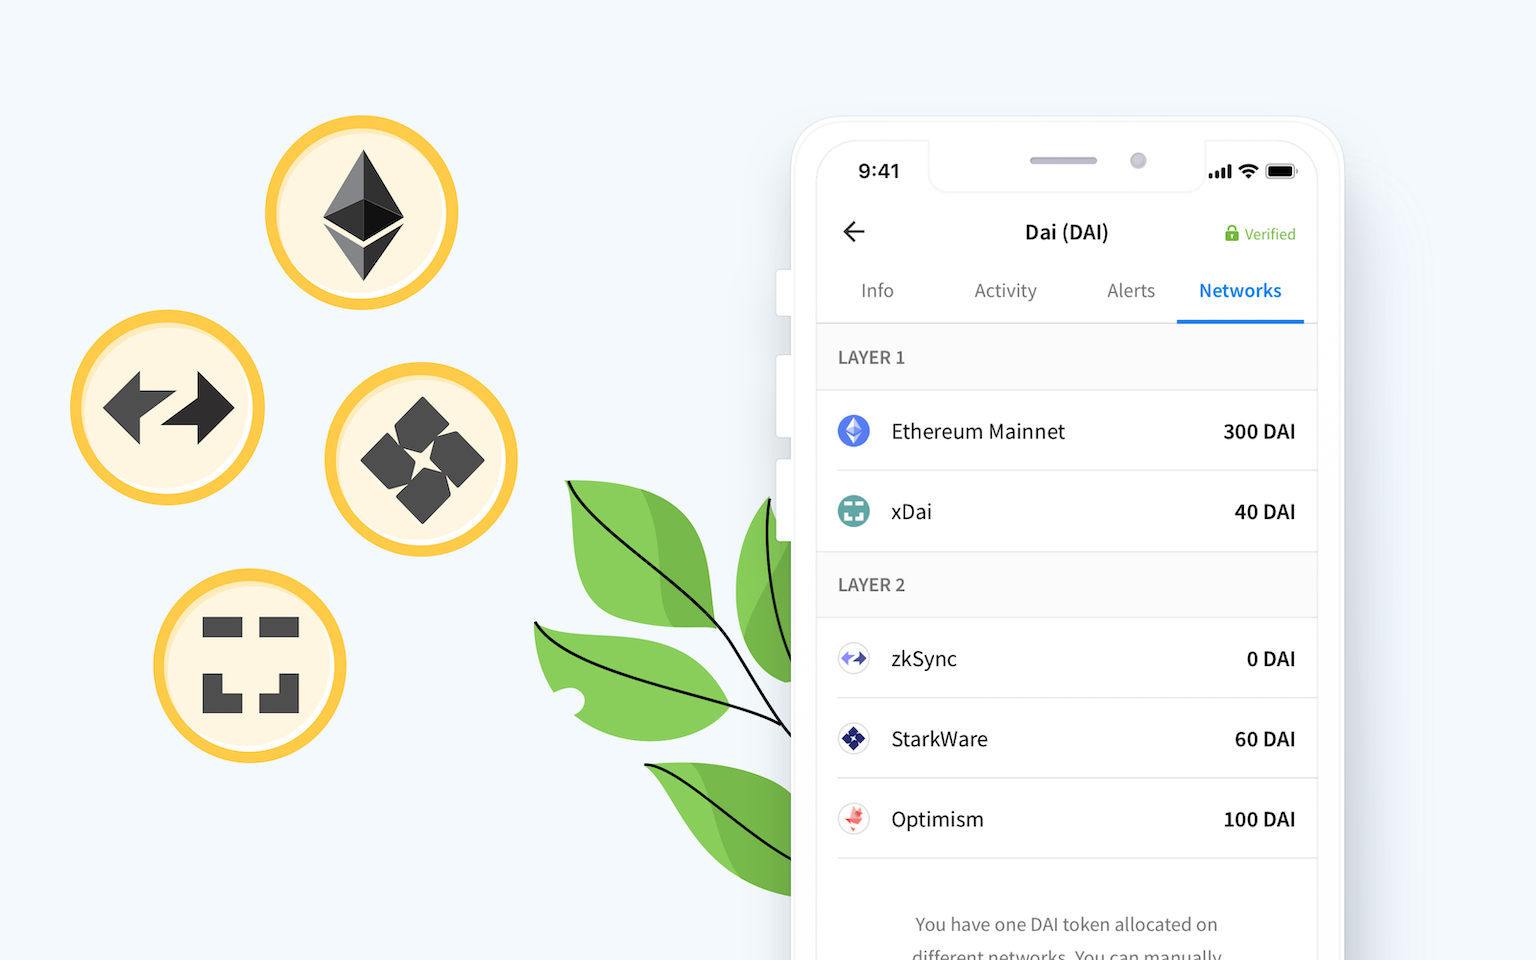
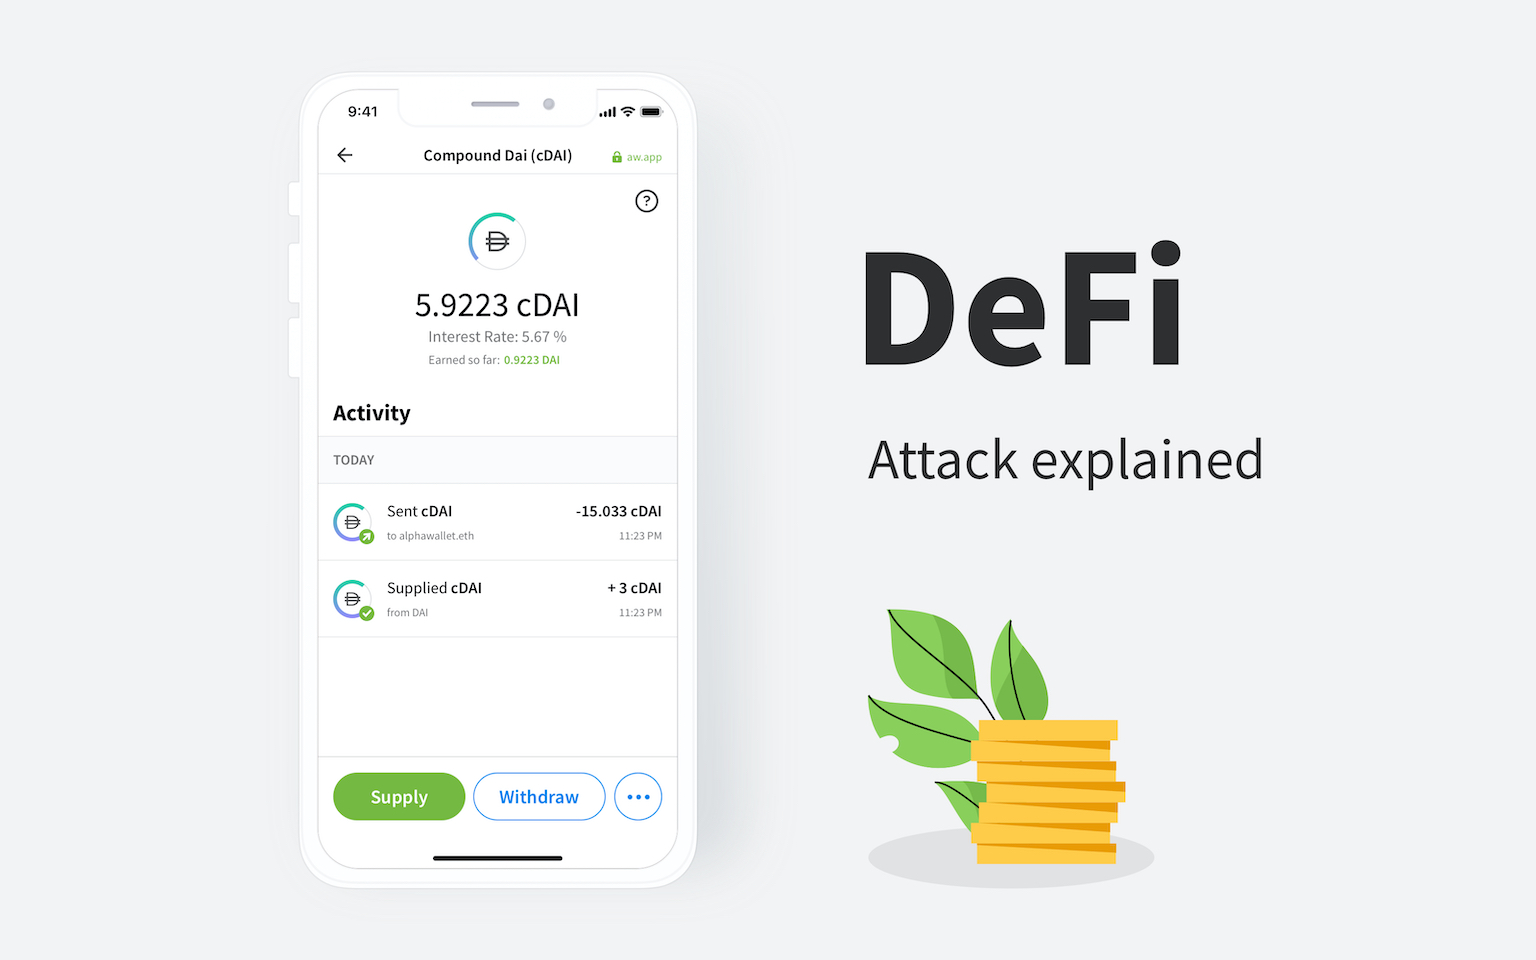
The Karma car Token provides an Ethereum secured attestation to operate the vehicle and use it in a tokenised form in DeFi markets, renting and loaning.
It was able to be deployed in a short time, with the full user interface via TokenScript, AlphaWallet and Web3E.
The steps to deploy and build the Car Token TokenScript:
- Deploy NFT Token on Ethereum chain to represent ownership.
- Write TokenScript to provide the user interface to use token functions.
- Write IoT interface for physical interface with the car.
Deploying the Token
To quickly deploy an NFT token go to these sites:
ERC721: https://mintable.app/create
ERC875: https://tf.alphawallet.com
For a final implementation, you’d have a factory style contract that can issue a unique token or attestation and token. A user could use this attestation to mint tokens that can allow use for defined time periods; this would allow a decentralised style ‘car next door’ lending platform where the usage of that token itself is clearly defined (eg usage time window). However, minting a token is OK for now.
After you mint the token, make a note of the address. The token used in the example minted here on Rinkeby (network ID 4).
Write the TokenScript
There are several examples of scripts we can use in the TokenScript examples repo.
TokenScript design comes down to a few main components:
- Origin Contract — the Token Contract to which the script refers; aka the token you click on in the wallet page.
- Actions — custom functions in addition to the intrinsic token functions.
- Token View cards — used to override default views to provide a more tailored user experience.
This TokenScript is pre-canonicalized to make it easier to implement. The working, modular source is here. You can see the basic layout of the file in the Karma.XML file, with actions and attributes. The views are resolved into the script when you build it with the makefile.
Note the contract address at line 17; it’s the address the token was minted at earlier. This is the ‘origin’ token; note the ‘origins’ section can hold multiple definitions; the same script may apply to multiple tokens; the same token contract deployed in different places or different networks. You may want to deploy a testing token on a testnet for development and a mainnet token.
The TokenScript contains CSS formatting code, a view-iconified which is the first view displayed when the user clicks on the token, and a set of actions that will appear as buttons on the token page:
Each action has its own associated page, defined as normal for a web page with CSS, HTML and JavaScript. Within each page, you will have access to the properties defined at the bottom of the script starting at line 717. Notice that these properties can be either derived from the TokenID or sourced from a smart contract function (origins/token-id or origins/ethereum respectively).
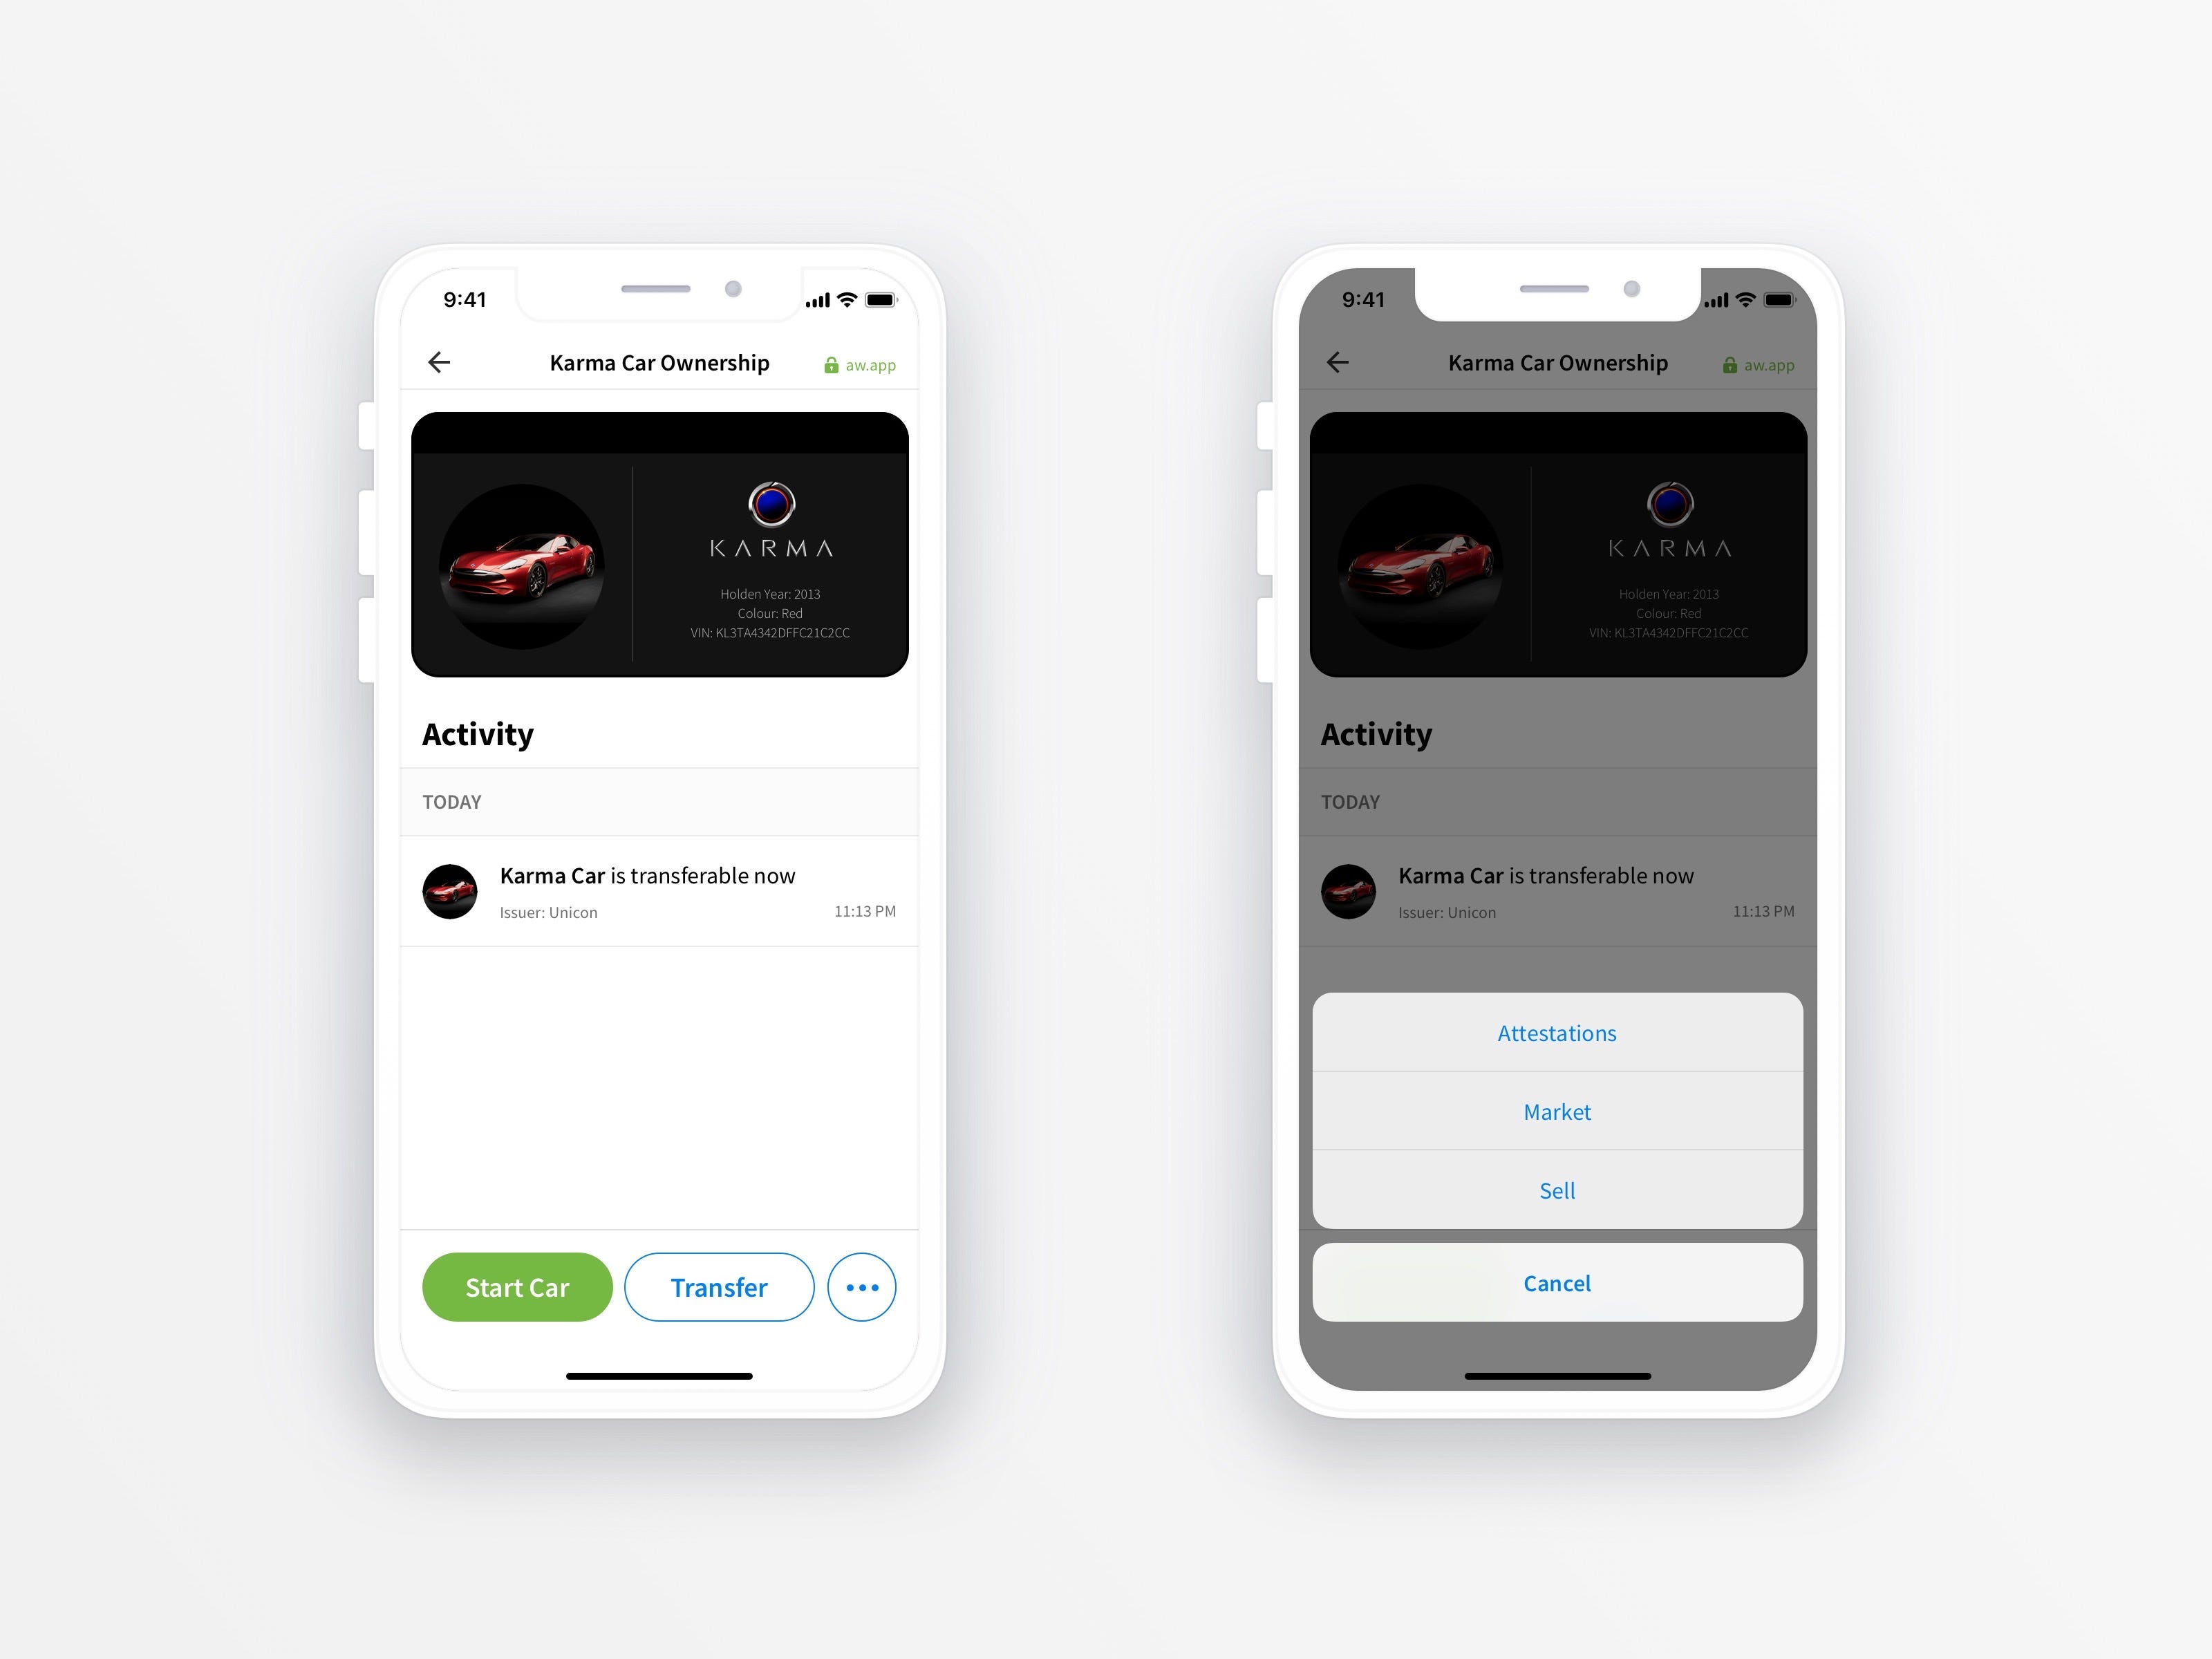
- Start: Provides entry into the car and allows the engine to be started.
- Attestations: Official authority attestations for car registration (Government), Insurance (Certified Insurer) and Service (Car Manufacturer).
- Market: Use the car ownership token as collateral in DeFi markets, hold an auction for the car, hire the car out or list for sale. These services could be hosted by a 3rd party or even by services created by the owner themselves; if the token ownership passes to another account, then legally that account owner owns the car.

The wallet also provides intrinsic functions of the token contract. In this case, transfer, sell and redeem. Redeem function could be used passively as an ownership attestation that could be used to provide entry to exclusive service like lounges at the airport. That is; it provides secure proof of ownership — the token cannot be transferred or burned except by the contract or token owner.
To deploy the TokenScript to the wallet, the simplest way is to send it via eg email or messenger chat service to the device running AlphaWallet. When the file is clicked on, the intent service will show AlphaWallet as a recipient. Clicking will load the script into the wallet. Providing your wallet has the token created earlier (in Deploying your Token) you should be able to click on the token in the wallet page and see the car graphic:
Hardware Connection
To connect to hardware, we will use the Web3E library which features a TokenScript bridge.
Running Web3E on hardware is straightforward; if you have previously used Arduino then you will have no difficulties.
Requirements:
- ESP32 or other Arduino compatible with at least 4Mb memory WiFi builtin.
- Visual Studio Code or Atom with PlatformIO installed.
To create the firmware using PlatformIO:
- Create a new ESP32 project using Arduino Framework.
- Add the Web3E library to the dependencies.
- Setup the API endpoints for the TokenScript to call.
Here is the sample firmware already setup to use the above contract:
You should replace the CAR_CONTRACT_TOKEN with your minted token address otherwise you won’t be able to pass the attestation check. Note that the code is set up to use Rinkeby. If you use a different chain change the INFURA_HOST appropriately (eg INFURA_HOST = “mainnet.infura.io”;).
The API endpoints you defined in the TokenScript must be initialised in the firmware:
getChallenge: returns the current device challenge, updated every time a challenge is attempted.
checkSignature (sig=XXXXX…): passes a signature of the challenge to the device, which is validated against the current challenge and the produced address checked for valid token.
allForward (addr=XXXX…), backwards (addr=XXXX…), turnLeft (addr=XXXX …), turnRight (addr=XXXX…): instruct the device to issue move instructions to the car to demonstrate control of car.
Then fill in the code for each API call. The ‘handleAPI’ function is the callback from the UDPBridge on receipt of an API call. Each path must return a message to the server to give feedback to the user that the device received the instruction. In our case, the four control API’s are switching the various motor controllers on the car, and the challenge and signature API calls are fulfilling the functions as specified above*.
Running the firmware for the first time creates the device’s UID. It uses two sets of large random values to create this: firstly a 16 byte chunk of entropy from the server created using Java SecureRandom, and the second source of entropy is the time in microseconds the device has been active for including the time taken to connect to WiFi and then to the ScriptProxy.
You will have to open the karma.canonicalized.xml file and copy your device address into the iotAddr var at line 340 in the file. Make sure you update the script on the phone, send it to your wallet again via messenger or email.
Using the Token
Now you have the firmware running on the ESP32 and the TokenScript deployed to AlphaWallet it’s time to connect everything!
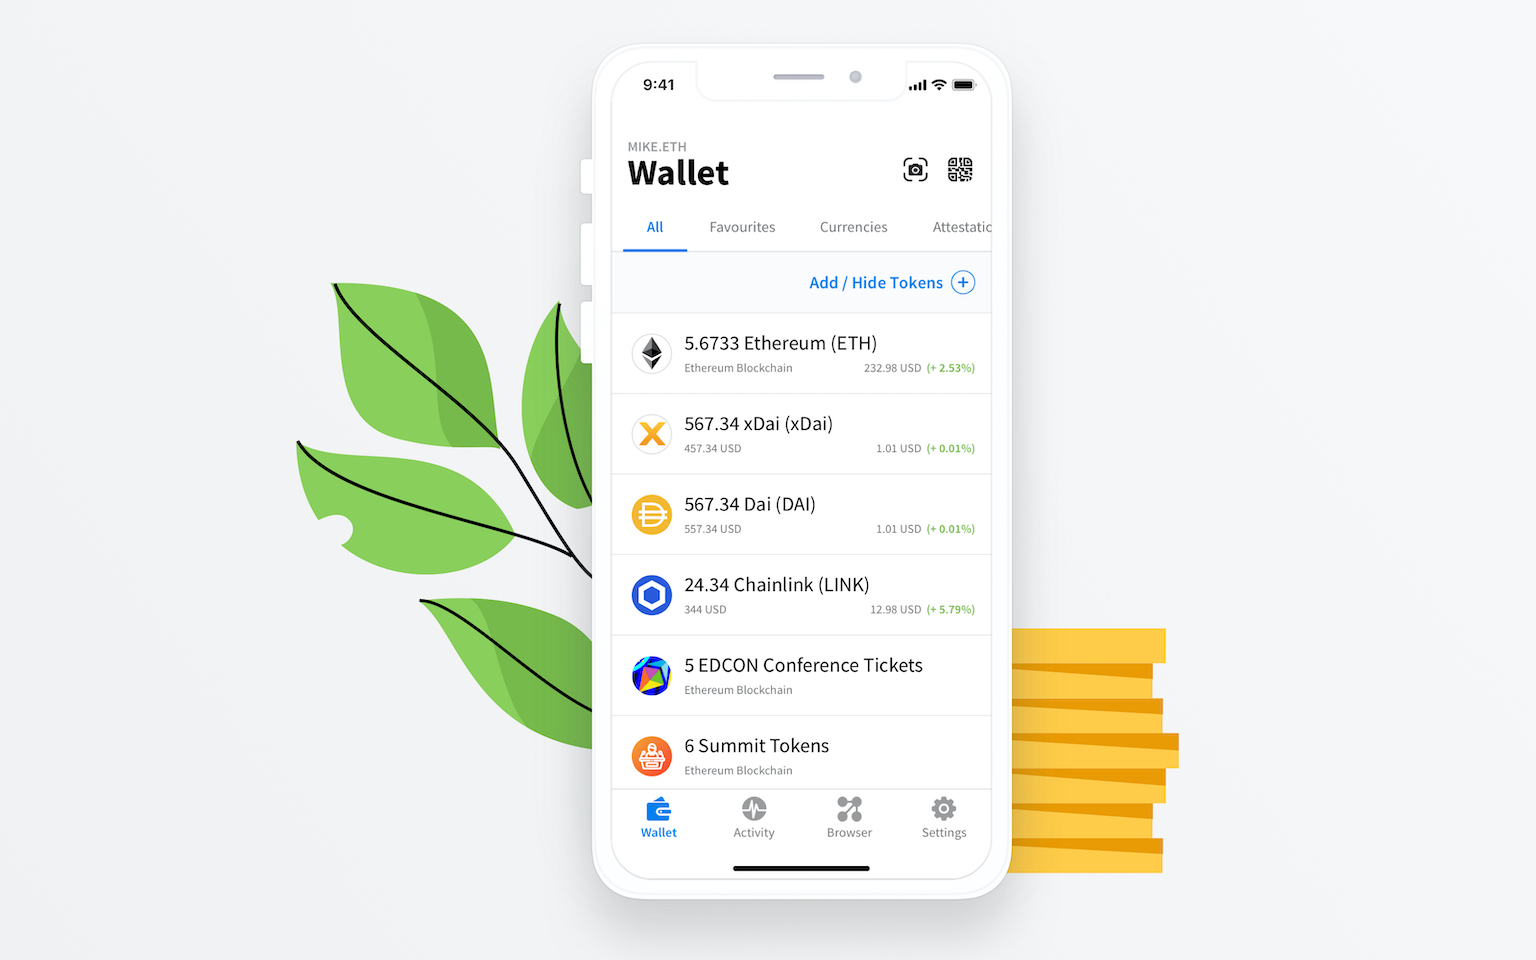
First, find the token in your wallet. If it’s not there — you may have created the token on a different account to the one on your phone. If that’s the case, either transfer the token to your AlphaWallet or import the key that created the token. With AlphaWallet you can import a key in any of the 3 main formats — seed phrase, keystore or raw private key. Metamask will export keystore and raw private key.
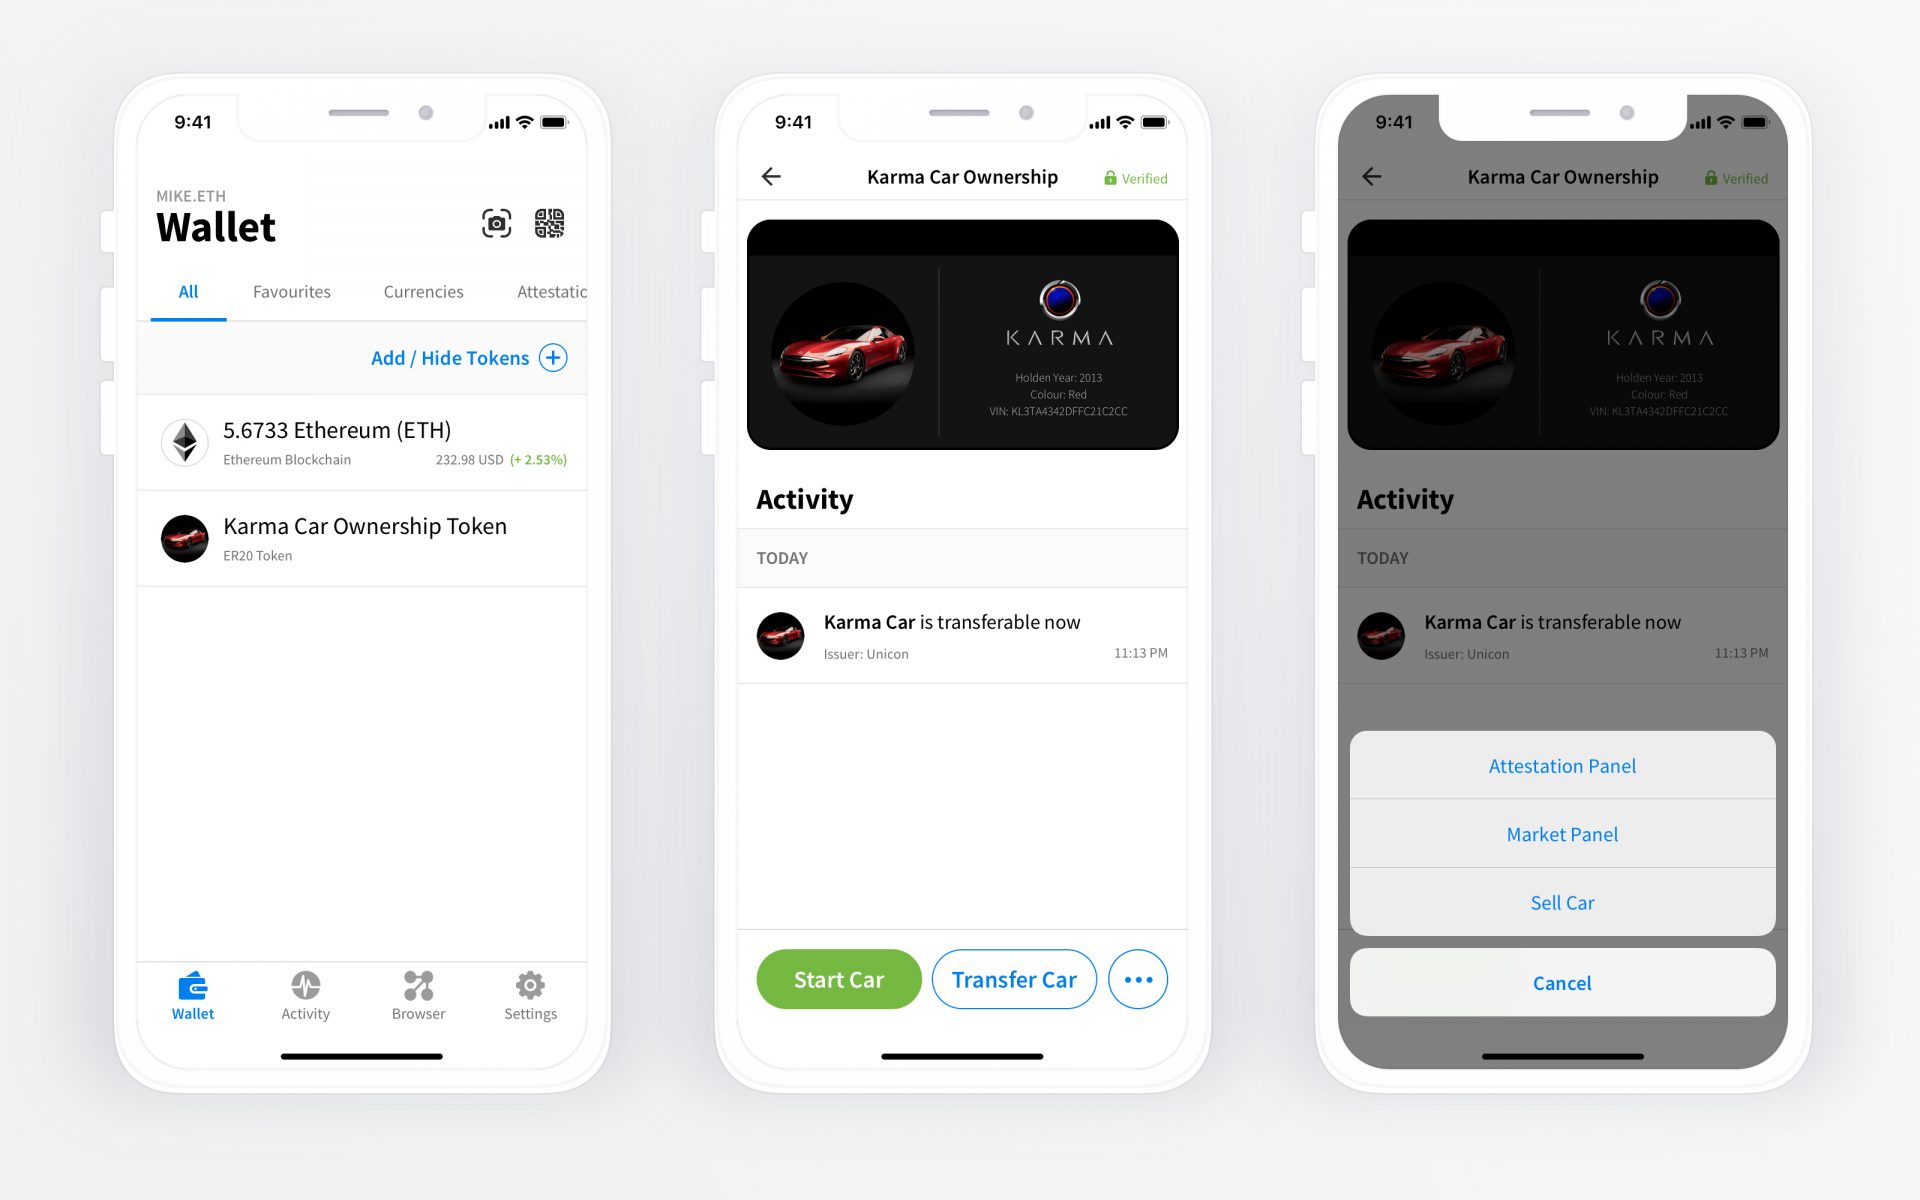
Now click on the token, you should see the car graphic.
Now click on the car for the detailed view and click ‘Start’. You should see a challenge appear after a short time (between 0.5 and 2 seconds). Sign the challenge then you should see the car controls. If you have connected these up to some motors you can remote control your car through the wallet.
*The exact sequence to check authentication is to obtain an Ethereum address from an EC-Recover on the passed signature using the current challenge as the message, then check that Ethereum address for token balance. This is a very simple check and doesn’t take into account if the token is still valid.
More on Blog